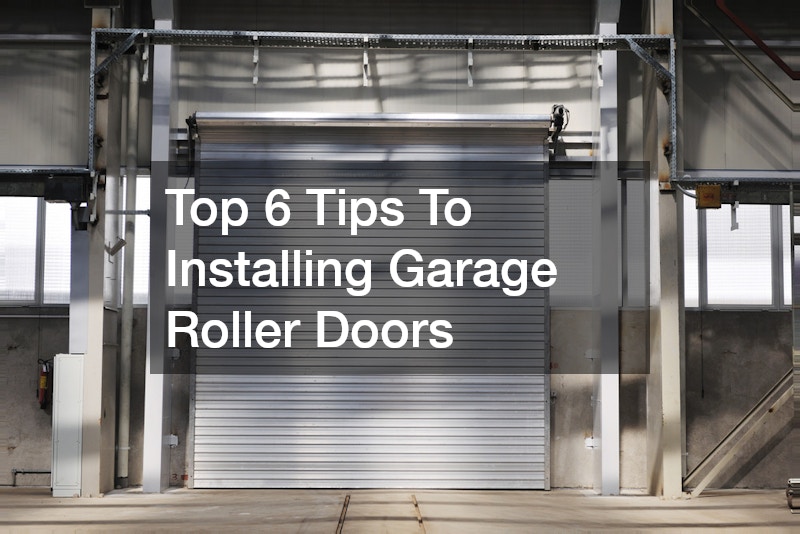
Installing a new door might seem like a job for the pros, but if you’re handy with a drill and don’t mind a bit of heavy lifting, you can definitely tackle it yourself. A sleek new roller door doesn’t just make your house look like the best on the street; it adds security and keeps the dust out of your workspace.
Before you start swinging tools around, there are a few things you need to know. We’ve rounded up the essential tips to ensure your DIY project doesn’t end with a lopsided door and a headache. Here is how to get the job done right.
1. Measure Twice, Cut Never
It sounds like a cliché, but in the world of garage roller doors, precision is your best mate. You aren’t just measuring the opening itself; you need to account for the “sideroom” and “headroom.”
- Sideroom: This is the space on either side of the opening where the tracks sit.
- Headroom: This is the space above the lintel where the actual roll of the door lives when it’s open.
If you don’t have enough clearance, that door isn’t going anywhere. Make sure your tracks have plenty of room to breathe and that your brackets are level. If the brackets are off by even a few millimetres, the door will bind, squeak and eventually burn out your motor.
2. Get a Helping Hand
Don’t try to be a hero. Even a “lightweight” single roller door is bulky, awkward and surprisingly heavy once you’re trying to hoist it onto a bracket three metres in the air.
Grab a mate, offer them a cold drink for afterwards and have them help you lift the roll into position. It’s a two-person job—one to steady the roll and the other to guide the axle into the U-bolts. Trying to do this solo is a fast track to a trip to the physio or a dented door.
3. Tensioning is the Secret Sauce
This is where most DIYers get a bit nervous and for good reason. The springs inside garage roller doors are what do the heavy lifting, not just the motor. Setting the tension correctly is the difference between a door that glides like silk and one that crashes down like a ton of bricks.
When you’re tensioning the door:
- Follow the manufacturer’s guide on how many “clicks” or rotations are needed.
- Always use the proper tools—usually a pipe wrench or a specific tensioning bar.
- Be careful! There’s a lot of stored energy in those springs.
Once it’s set, test the door manually. It should stay halfway open without falling or shooting upwards. If it stays put, you’ve nailed the balance.
4. Level Tracks are Non-Negotiable
If your tracks aren’t perfectly vertical (plumb), your door will have a mid-life crisis within six months. Use a long spirit level to check the tracks on both sides. If the tracks are slanted inwards or outwards, the door will rub against the “curtain” (the metal sheets), scratching the paint and putting massive strain on the rollers.
Pro Tip: Leave the track bolts slightly loose while you’re positioning them. Once the door is sitting in the tracks and you’ve confirmed everything is straight, then go around and tighten everything up for a solid finish.
5. Don’t Forget the Weather Seal
One of the main reasons people install new garage roller doors is to keep the elements out. When you’re finishing the install, ensure the bottom weather seal is sitting flush against the concrete.
If your garage floor is a bit wonky (common in older Aussie homes), you might need to adjust the track height slightly or use a thicker seal. This keeps the leaves, spiders and rain out of your shed, which is exactly what you want.
6. Maintenance is Part of the Install
Once the door is up and running, don’t just walk away and forget about it. Give the tracks a quick wipe down with a rag to remove any metal filings from the installation process.
Avoid using grease in the tracks. It’s a common mistake, but grease actually attracts dust and grit, which turns into a nasty grinding paste that ruins the nylon runners. If you need a bit of lubrication, stick to a silicone-based spray that doesn’t leave a sticky residue.
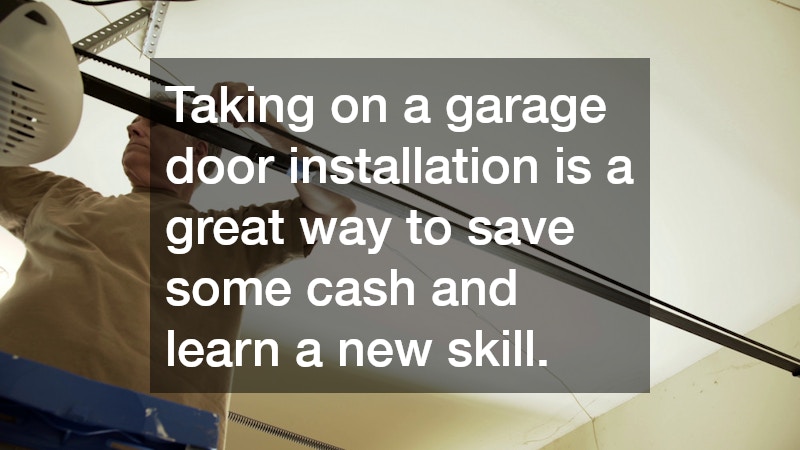
Taking on a garage door installation is a great way to save some cash and learn a new skill. As long as you take your time, keep your levels handy and have a mate to help with the heavy lifting, you’ll have a professional-looking result.
Just remember to check your work as you go. A well-installed door should be quiet, smooth and easy to operate with one hand. Once you’ve got it bolted down and the motor programmed, you can sit back, crack a tinny and admire the handiwork.